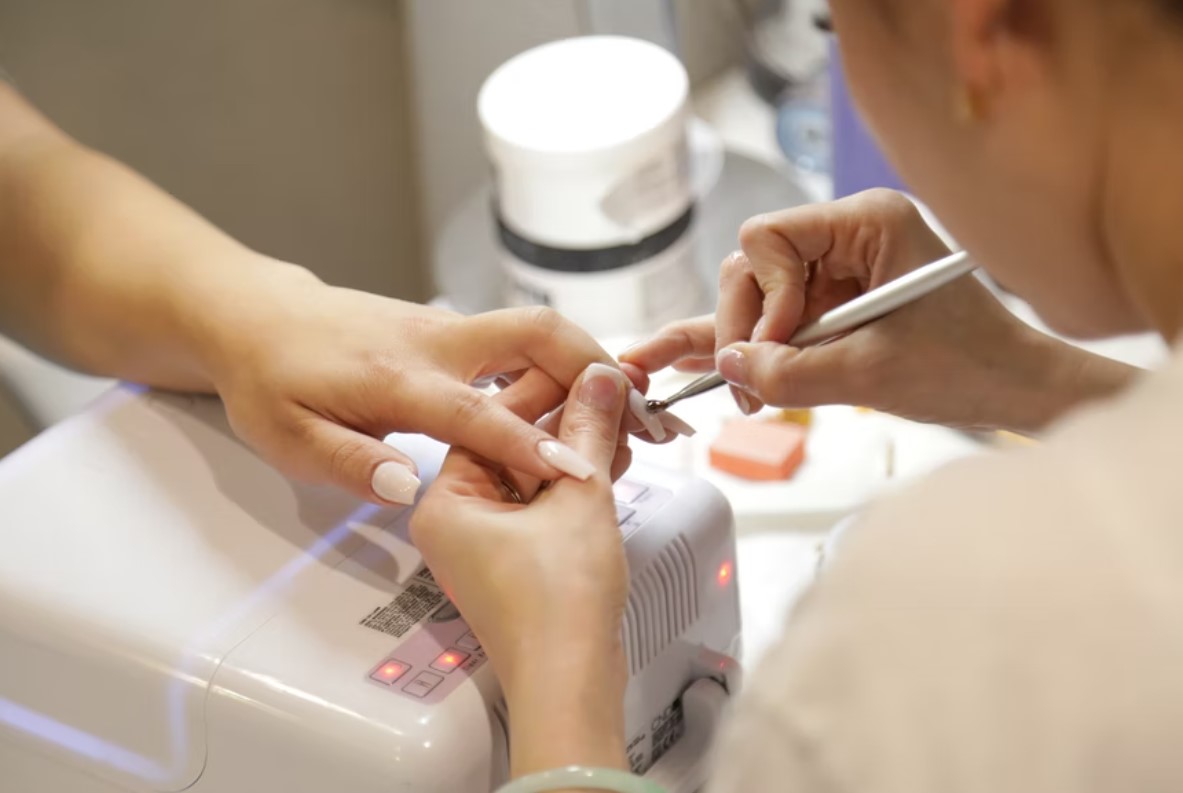
How to Fix Broken Nails with Gel Polish On
Every female has experienced a circumstance like a broken nail. It’s extremely offensive if one of the nails is broken and the other is long. The worst case scenario is a crack at the very start of the free edge (stress zone), which can be extremely painful. And, whereas formerly the initial thought was to cut the length to the floor (or to the root in the second situation) and level the rest of the nails beneath it, there are now better solutions: in nail service there are modern materials that work wonders and allow you to restore even the most difficult cases. Without professional nail care you can’t fix your broken nail.
Here we bring to your attention several options for repairing a natural nail plate for gel polish, depending on the nature of the crack or break.
We’ll start by saying that if you want a result that lasts at least three weeks with a gel polish, doing it at home is difficult, and it’s better to go to a master who has the information and procedures for nail restoration right away. It will also necessitate items that not every girl has in her cosmetic kit.
Another distinction: some refer to it as “gel polish repair,” while others refer to it as “gel polish repair.” Because a gel polish is used and a second coat is applied, we’ll consider this to be identical.
We will consider the breakdown of only natural nails. This can occur with or without the use of gel polish. It must be entirely removed in the first situation, and then the directions must be followed.
1 repair method – using acrylic powder
Stage 1. We meticulously prepare the nail plate for gel polish, paying special attention to the following details:
- We carry out the processing of the cuticle and the free edge of the nail in the usual way.
- We remove the gloss from the natural nail plate with a file or buff, paying special attention to the place of the crack: it should become smooth on all sides.
- We degrease the nails. On a fractured nail, an acid primer is preferable.
Stage 2. A base coat is applied to the nail (it is better if it is rubber). Raise the nail in the crack until the base fills it a little, that is, the base gets inside the crack. Apply the base to the back of the nail in the problem region with a small brush. Pour a small amount of acrylic powder here without allowing it to dry. Then dry.
Stage 3. Shake off excess powder. We file the nail from above and to the side, aligning it. Apply another layer of base and dry.
Next, a standard gel nail polish is performed. This is not the most durable method, but it works – we personally use it.
If gel polish is not supposed to be applied, then nail glue can be used instead of the base, but this will save the situation for a very short time.
2nd repair method – gel polish.
Step 1.Preparation of the nail plate in accordance with all applicable regulations (for details, see the previous section).
Step 2. Cut out a piece of gel polish, slightly larger than the size of the crack. We apply the base and, while it is still wet, we place a fiberglass on top of it and moisten it with the base.Dry in a lamp.
Step 3. Cover the nail with another layer of the base. For greater reliability, you can use, for example, bio gel.
Step 4. We file if the gel polish or material protrudes slightly beyond the edges of the nail plate.
Then you can do the usual coating of gel polish.
An alternative crack repair option.
Some nail technicians believe that the fracture can only be “neutralized” as effectively as it can be taken out. Like this? – you ask. To do this, a perpendicular incision is performed with nail scissors, leaving no evidence of the fracture in the nail’s depth. It turns out that there is a triangular wasteland in the open edge on the side, which needs to be filled.
You can fill in different options:
- Substituting the shape and filling it with a gel or a mixture of rubber foundation and acrylic, as with constructing. After drying, correct the shape.
- You can do it without swapping the shape if the triangle is not very huge and the base is thick, but you would most likely have to apply it in numerous layers and then cut it out, including from below, which you cannot do without cutters.
- Using fiberglass, reinforce it from the top with a base, dry it, and then alter the shape from the bottom.
As we said, this is already difficult to do at home, if you yourself, of course, are not a master!

